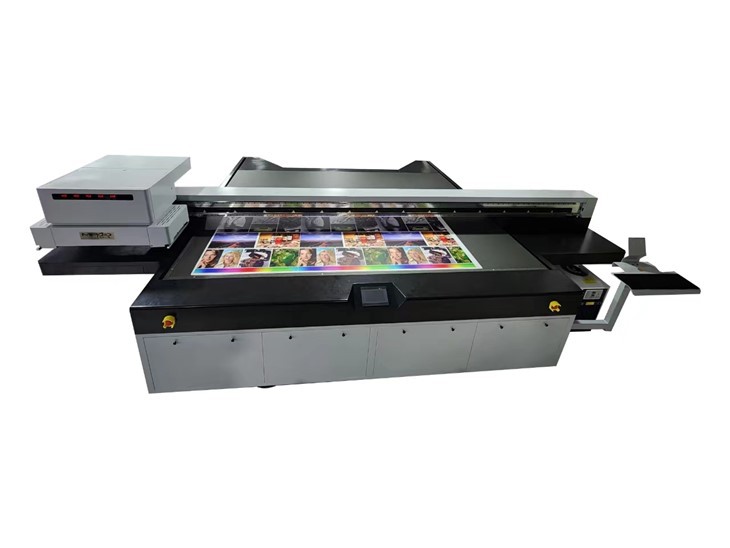
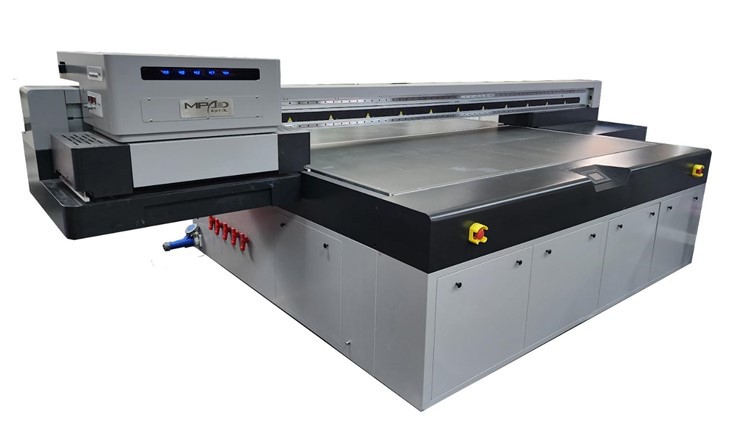
Hey there! As a supplier of Printer UV Flatbed, I often get asked about how to replace the ink cartridges in these machines. It's actually not as complicated as it might seem at first glance. In this blog post, I'll walk you through the whole process step by step.
First off, let's talk a bit about why you might need to replace the ink cartridges. Well, it's pretty obvious - when the ink runs out, your printer won't be able to print properly. And if you're using your Flat Bed UV Pinter for business or other important tasks, you don't want to be stuck with a non - working printer.
Step 1: Gather Your Tools
Before you start replacing the ink cartridges, you need to gather a few tools. You'll need a clean, lint - free cloth to wipe any spills or drips. It's also a good idea to have a pair of disposable gloves on hand. Ink can be messy, and you don't want it all over your hands.
Step 2: Prepare Your Printer
Make sure your Printer UV Flatbed is turned off and unplugged from the power source. This is a crucial safety step. You don't want to risk getting an electric shock while you're working on the printer. Also, make sure the printer is on a stable surface. You don't want it to tip over while you're replacing the cartridges.
Step 3: Locate the Ink Cartridge Compartment
The location of the ink cartridge compartment can vary depending on the model of your Digital Flatbed UV Printer. Usually, it's on the front or side of the printer. Some printers have a door that you need to open to access the cartridges, while others might have a removable panel. Check your printer's manual if you're having trouble finding it.
Step 4: Remove the Old Ink Cartridges
Once you've located the ink cartridge compartment, it's time to remove the old cartridges. Most cartridges are held in place by a simple locking mechanism. You might need to press a button or lever to release the cartridge. Gently pull the cartridge out of its slot. Be careful not to spill any ink. If there's any ink on the cartridge or in the slot, use the lint - free cloth to wipe it clean.
Step 5: Check the New Ink Cartridges
Before you install the new cartridges, take a look at them. Make sure they're the correct type for your printer. You can usually find this information on the label of the cartridge or in your printer's manual. Also, check the expiration date. Using expired ink can lead to poor print quality and might even damage your printer.
Step 6: Install the New Ink Cartridges
Now it's time to install the new cartridges. Align the cartridge with the slot in the printer. Make sure it's inserted correctly - most cartridges have a specific orientation. Gently push the cartridge into the slot until you hear a click. This indicates that the cartridge is securely in place.
Step 7: Prime the Printer
After you've installed the new cartridges, you'll need to prime the printer. Priming helps to get the ink flowing through the printer's system. This process can vary depending on your printer model. Usually, you can do it through the printer's control panel. Look for an option like "Prime" or "Initialize Cartridges". Follow the on - screen instructions to complete the priming process.
Step 8: Test the Printer
Once you've primed the printer, it's a good idea to do a test print. Print a simple document or a test pattern. Check the print quality. If the print looks smudged, streaky, or if there are any missing colors, you might need to run a cleaning cycle on the printer. This can usually be done through the printer's control panel as well.
Tips and Tricks
- Keep Spare Cartridges on Hand: It's always a good idea to have some spare ink cartridges in case you run out unexpectedly. This way, you won't have to stop your work and wait for new cartridges to arrive.
- Store Cartridges Properly: If you're not using the cartridges right away, store them in a cool, dry place. Avoid exposing them to direct sunlight or extreme temperatures.
- Follow the Manufacturer's Instructions: Every printer is different, so it's important to follow the manufacturer's instructions when it comes to replacing ink cartridges. This will help you avoid any problems and ensure that your printer works properly.
If you're having any trouble replacing the ink cartridges in your UV LED Flatbed Printer, don't hesitate to reach out. We're here to help! Whether you're a small business owner looking to keep your printer running smoothly or a large - scale operation in need of high - quality printing solutions, we've got you covered.
If you're interested in purchasing a new Printer UV Flatbed or need more information about our products and services, we'd love to hear from you. Contact us to start a conversation about your printing needs and how we can help you achieve the best results. We're always ready to assist you in finding the perfect solution for your business.
References
- Printer UV Flatbed user manuals
- Ink cartridge manufacturer guidelines