Hey there! As a supplier of UV Varnish Printers, I've had my fair share of customers scratching their heads over setting up the printing layout on these nifty machines. It can seem a bit daunting at first, but trust me, once you get the hang of it, it's a breeze. So, let's dive right in and break down the process step by step.
Getting to Know Your UV Varnish Printer
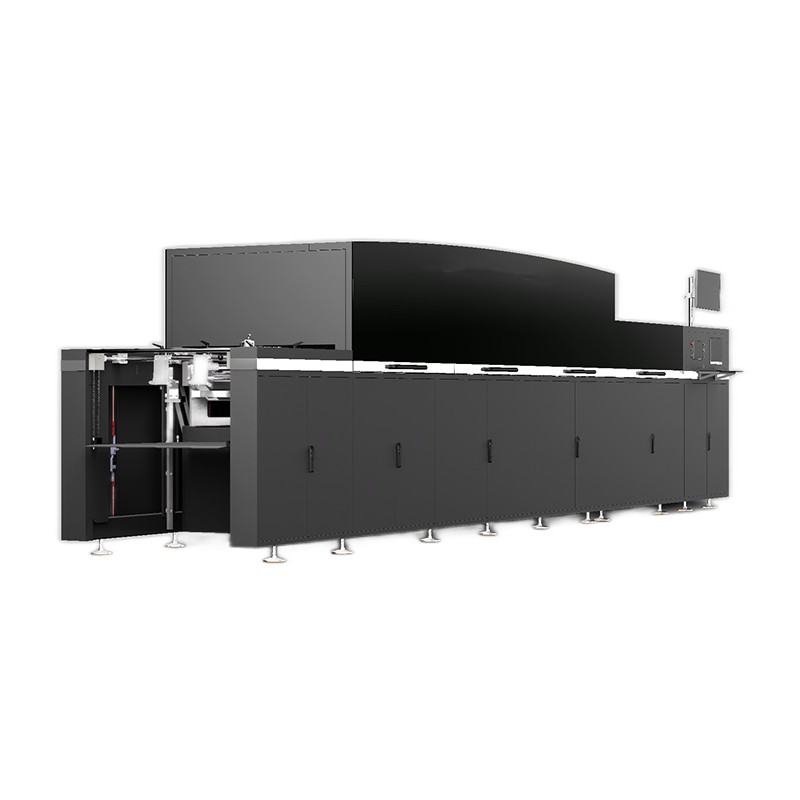
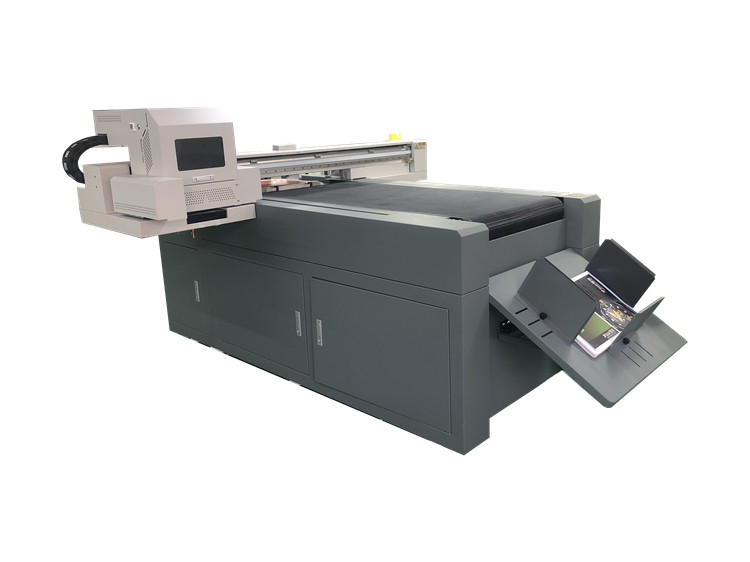
First things first, you gotta understand what you're working with. A UV Varnish Printer is a high - tech piece of equipment that uses UV - cured varnish to add a glossy, protective finish to printed materials. It's great for enhancing the look and feel of things like business cards, brochures, and packaging. You can learn more about it UV Varnish Printer.
Preparing Your Design
Before you even think about hitting the print button, you need to have a well - designed layout. Start by opening your preferred graphic design software, like Adobe Photoshop or Illustrator. Create a new document with the correct dimensions for your print job. Make sure you set the resolution to at least 300 DPI (dots per inch) for high - quality results.
Once your document is set up, it's time to add your artwork. This could be text, images, or a combination of both. Pay close attention to the colors you use. Since UV varnish is clear, it won't change the color of your design, but it will add a shiny effect. So, choose colors that will look good with that extra sheen.
Defining the Varnish Areas
One of the cool things about UV Varnish Printers is that you can apply varnish selectively. This is called UV Spot Varnish Printing. To define the areas where you want to apply varnish, create a separate layer in your design software. Use a solid color, like black, to mark the areas that will receive the varnish. This black layer will act as a mask for the printer.
Exporting Your Design
Once your design is complete and you've defined the varnish areas, it's time to export your file. Save it in a format that your UV Varnish Printer can understand, such as PDF. Make sure to include all the necessary layers and that the colors are set to CMYK (cyan, magenta, yellow, and black) mode. This is the standard color mode for printing.
Loading Your Printer
Now that your design is ready, it's time to load your printer. First, make sure you have the right type of paper or substrate for your print job. Different printers work better with different materials, so check the manufacturer's recommendations.
Next, load the paper into the printer's tray. Make sure it's aligned properly to avoid any printing errors. Then, fill the varnish tank with the appropriate UV - cured varnish. Most printers have a sensor that will let you know when the varnish is running low.
Configuring the Printer Settings
Before you start printing, you need to configure the printer settings. On the printer's control panel, select the correct paper size and type. You may also need to adjust the print quality settings, such as the resolution and the speed of the printer.
For the varnish settings, you'll need to specify the areas where the varnish will be applied. This is where that black mask layer in your design comes in handy. The printer will read the black areas as the areas to receive the varnish. You can also adjust the thickness of the varnish layer, depending on how shiny you want the final result to be.
Printing a Test Page
It's always a good idea to print a test page before you start a full - scale print job. This will allow you to check for any errors in your design or printer settings. Look for things like misaligned printing, uneven varnish application, or color discrepancies.
If you notice any issues, go back to your design software or the printer settings and make the necessary adjustments. Once you're satisfied with the test page, you're ready to start printing your final copies.
Monitoring the Printing Process
While the printer is running, keep an eye on it. Make sure the paper is feeding properly and that the varnish is being applied evenly. If you notice any problems, such as a paper jam or a varnish leak, stop the printer immediately and address the issue.
Post - Printing Care
Once your print job is complete, let the printed materials dry for a few minutes. The UV light in the printer will cure the varnish quickly, but it's still a good idea to give it a little extra time to fully set.
You can then trim the printed materials to the desired size and finish them as needed. For example, you could bind brochures or add a protective coating over the entire print.
Troubleshooting Common Issues
Even with the best preparation, you may run into some issues when setting up the printing layout on your UV Varnish Printer. Here are a few common problems and how to solve them:
- Uneven Varnish Application: This could be due to a clogged nozzle or incorrect printer settings. Check the printer's maintenance guide to clean the nozzles. You may also need to adjust the varnish flow rate in the printer settings.
- Color Discrepancies: If the colors in your print don't match the colors in your design, it could be because of a color profile issue. Make sure your design software and printer are using the same color profile.
- Paper Jams: Paper jams can be caused by misaligned paper or a dirty feed mechanism. Remove the jammed paper carefully and clean the feed rollers if necessary.
Conclusion
Setting up the printing layout on a UV Varnish Printer may seem complicated at first, but with a little practice and patience, you'll be able to create stunning prints with ease. Remember to prepare your design carefully, load the printer correctly, configure the settings, and monitor the printing process.
If you're in the market for a UV Varnish Printer or need more information on how to use one, don't hesitate to reach out. We're here to help you every step of the way. Whether you're a small business owner looking to add a professional touch to your marketing materials or a large - scale printer looking to expand your capabilities, our Spot UV Coating Machine can meet your needs. Contact us today to start a conversation about your printing requirements and let's work together to create amazing prints.
References
- Printer Manufacturer's User Manual
- Graphic Design Software Documentation