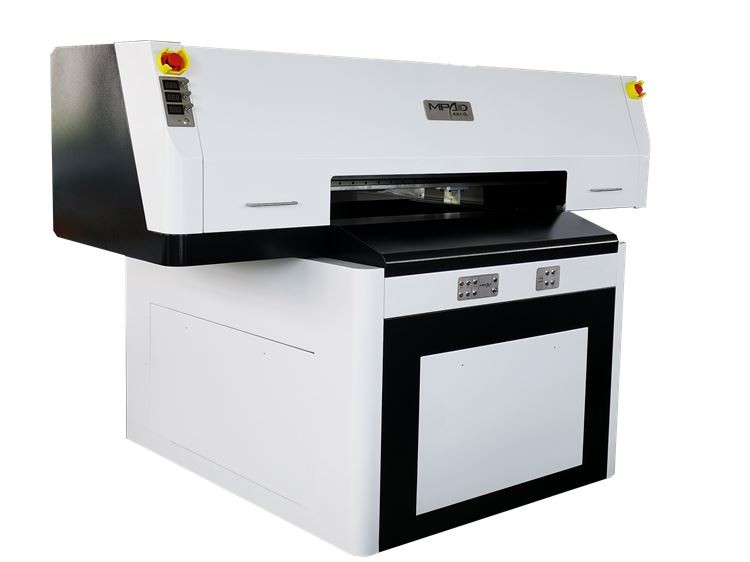
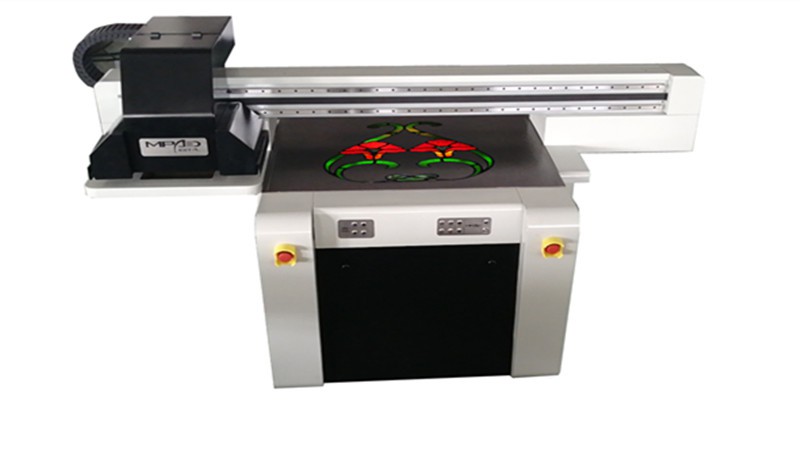
Hey there! As a supplier of UV Spot Printer, I've seen a lot of customers scratching their heads over adjusting the printing height of these machines. It's a crucial step that can make or break your printing results. So, in this blog, I'm gonna walk you through how to do it right.
Why Printing Height Matters
First off, let's talk about why the printing height is such a big deal. The distance between the print head and the printing surface affects the quality of your UV Spot Varnish Printing. If the height is too high, the ink droplets might spread out too much before hitting the surface, leading to a blurry and less - defined print. On the other hand, if it's too low, the print head could come into contact with the material, causing damage to both the head and the print job.
Tools You'll Need
Before you start adjusting the printing height, gather the necessary tools. You'll typically need a feeler gauge, which is a thin strip of metal with different thicknesses. It helps you measure the distance accurately. A small wrench or screwdriver might also be required to loosen and tighten the adjustment screws on your Spot UV Coating Machine.
Step - by - Step Guide to Adjusting the Printing Height
Step 1: Power Off and Unplug
Safety first! Turn off your UV spot printer and unplug it from the power source. This prevents any accidental electric shocks or damage to the machine while you're working on it.
Step 2: Locate the Adjustment Mechanism
Every printer is a bit different, but most UV spot printers have an adjustment mechanism near the print head. It could be a set of screws or a lever that allows you to raise or lower the print head. Refer to your printer's user manual if you're having trouble finding it.
Step 3: Initial Inspection
Take a look at the current position of the print head. Notice how close it is to the printing surface. You can use a piece of paper or a thin cardstock to get a rough idea of the distance. Slide it under the print head and see if there's any resistance.
Step 4: Use the Feeler Gauge
Select the appropriate thickness on the feeler gauge. The ideal distance between the print head and the surface usually ranges from 0.5mm to 1.5mm, but it can vary depending on the printer model and the type of material you're printing on. Insert the feeler gauge between the print head and the printing surface. If it fits snugly without too much force, you're in the right ballpark. If it's too loose or too tight, you'll need to make an adjustment.
Step 5: Make the Adjustment
If the feeler gauge indicates that the distance is too large, use your wrench or screwdriver to lower the print head. Turn the adjustment screws in the appropriate direction (usually clockwise to lower). Make small adjustments at a time and re - check with the feeler gauge after each turn.
Conversely, if the distance is too small, turn the screws counter - clockwise to raise the print head. Again, make small adjustments and test with the feeler gauge until you achieve the correct distance.
Step 6: Check All Sides
The print head should be level across the entire width of the printing area. Check the distance at multiple points along the print head using the feeler gauge. If there are any discrepancies, make additional adjustments to ensure a consistent height.
Step 7: Final Test
Once you're satisfied with the height adjustment, plug in your printer and power it on. Run a test print on a scrap piece of material. Examine the print quality closely. Look for sharp edges, clear details, and even ink distribution. If the print still looks blurry or uneven, you may need to make further minor adjustments.
Troubleshooting Common Issues
Blurry Prints
If your prints are coming out blurry after adjusting the height, it could be due to a few reasons. First, double - check the height adjustment to make sure it's within the recommended range. Also, check the ink viscosity. If the ink is too thin or too thick, it can affect the print quality. You may need to adjust the ink settings on your printer.
Uneven Printing
Uneven printing can occur if the print head is not level. Go back and re - check the height at multiple points along the print head. Make sure the adjustment screws are tightened evenly on both sides.
Print Head Damage
If the print head comes into contact with the printing surface during the adjustment process, it could get damaged. Look for any visible signs of scratches or dents on the print head. If you suspect damage, contact our technical support team for further assistance.
Tips for Optimal Results
- Regular Maintenance: Keep your printer clean and well - maintained. Dust and debris can accumulate on the print head and affect the printing height and quality.
- Material Consideration: Different materials require different printing heights. For example, a thicker cardboard may need a slightly larger distance than a thin paper. Experiment with different materials and note down the optimal height settings for each.
- Calibration Checks: Periodically check the printing height to ensure it remains accurate. Over time, vibrations and normal wear and tear can cause the height to shift.
Conclusion
Adjusting the printing height of a UV spot printer is an important skill that can significantly improve your print quality. By following these steps and troubleshooting tips, you'll be able to achieve sharp, clear, and professional - looking prints every time.
If you're in the market for a new UV spot printer or need more in - depth advice on adjusting the printing height, don't hesitate to reach out. We're here to help you make the most of your printing experience. Whether you're a small - scale business or a large - scale production facility, our team of experts can assist you in finding the perfect solution for your needs. Let's start a conversation and see how we can take your printing to the next level.
References
- Manufacturer's user manual for UV spot printers
- Industry best practices for UV printing technology