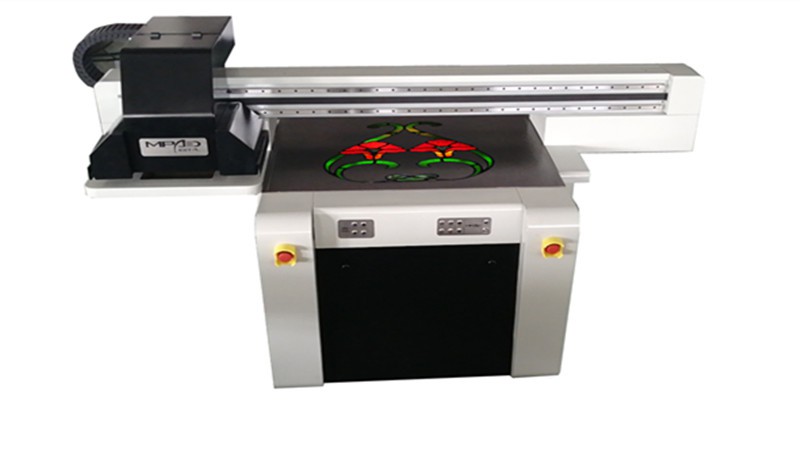
UV varnish printers are essential equipment in the printing industry, offering high - quality finishes and enhanced durability to printed materials. One of the critical aspects of operating a UV varnish printer is adjusting the UV intensity. As a supplier of UV varnish printers, I understand the importance of this process and its impact on the final print quality. In this blog, I'll share some insights on how to adjust the UV intensity in a UV varnish printer.
Understanding the Basics of UV Intensity
Before delving into the adjustment process, it's crucial to understand what UV intensity means. UV intensity refers to the amount of ultraviolet light energy that reaches the printed surface per unit area and time. It plays a vital role in the curing process of the UV varnish. If the UV intensity is too low, the varnish may not cure properly, leading to smudging, scratching, or a sticky finish. On the other hand, if the UV intensity is too high, it can cause the varnish to over - cure, resulting in brittleness, yellowing, or even damage to the substrate.
Factors Affecting UV Intensity
Several factors can influence the UV intensity in a UV varnish printer. These include the type of UV lamp, the distance between the lamp and the printed surface, the speed of the printing process, and the characteristics of the UV varnish itself.
- Type of UV Lamp: Different types of UV lamps, such as mercury lamps, LED lamps, etc., have different emission spectra and power outputs. Mercury lamps are traditional and have a wide emission spectrum, while LED lamps are more energy - efficient and can be tuned to specific wavelengths. The type of lamp used in your printer will significantly affect the UV intensity.
- Distance between the Lamp and the Printed Surface: The intensity of UV light follows the inverse - square law. This means that as the distance between the lamp and the printed surface increases, the UV intensity decreases rapidly. For example, if you double the distance, the UV intensity will be reduced to one - fourth of its original value.
- Printing Speed: The speed at which the printer operates also affects the amount of UV light exposure the varnish receives. A faster printing speed means less time for the varnish to be exposed to the UV light, requiring a higher UV intensity to ensure proper curing.
- Characteristics of the UV Varnish: Different UV varnishes have different curing requirements. Some may require a higher UV intensity to cure quickly, while others may be more sensitive to over - curing and need a lower intensity.
Methods to Adjust UV Intensity
1. Adjusting the Lamp Power
Most UV varnish printers allow you to adjust the power output of the UV lamps. This is a straightforward way to change the UV intensity. If you find that the varnish is not curing properly, you can increase the lamp power. However, be careful not to set the power too high, as it can lead to over - curing and other issues.
When adjusting the lamp power, it's best to make small incremental changes and test the results on a sample print. This way, you can find the optimal power setting for your specific printing job.
2. Changing the Distance between the Lamp and the Printed Surface
As mentioned earlier, the distance between the lamp and the printed surface has a significant impact on UV intensity. You can adjust this distance using the printer's built - in mechanisms. If you need to increase the UV intensity, reduce the distance between the lamp and the surface. Conversely, if the varnish is over - curing, increase the distance.
It's important to note that when adjusting the distance, you need to ensure that the lamp is still evenly illuminating the printed area. Uneven illumination can result in inconsistent curing.
3. Controlling the Printing Speed
Adjusting the printing speed is another effective way to control the UV intensity. If you slow down the printing speed, the varnish will have more time to be exposed to the UV light, allowing you to use a lower UV intensity. This can be particularly useful when working with sensitive substrates or varnishes that require a longer curing time.
However, reducing the printing speed also means lower productivity. So, you need to find a balance between the desired UV intensity and the production efficiency.
4. Selecting the Right UV Lamp
If you find that you are constantly having trouble achieving the right UV intensity with your current lamp, it may be time to consider changing the lamp type. For example, if you need a more precise and energy - efficient solution, an LED lamp may be a better choice. You can consult with our technical support team to determine the most suitable lamp for your printer and printing requirements.
Using Our Related Products
In addition to UV varnish printers, we also offer a range of related products that can enhance your printing experience. For example, our Digital Foiling Printing Machine combines the functions of foiling and UV varnishing, allowing you to create more eye - catching and high - end prints. Our Spot UV Coating Machine is designed for precise spot UV coating, which can add a touch of luxury to your printed materials. And our UV Spot Printer provides high - resolution spot UV printing capabilities.
Testing and Quality Control
After making adjustments to the UV intensity, it's essential to conduct thorough testing to ensure that the varnish is curing properly. You can use a variety of methods for quality control, such as visual inspection, scratch tests, and adhesion tests.
- Visual Inspection: Check the printed surface for any signs of smudging, yellowing, or uneven curing. A properly cured varnish should have a smooth, glossy finish.
- Scratch Tests: Use a soft object, such as a fingernail or a cotton swab, to gently scratch the varnished surface. If the varnish is properly cured, it should not be easily scratched or removed.
- Adhesion Tests: You can use an adhesive tape to test the adhesion of the varnish to the substrate. Apply the tape firmly to the varnished surface and then quickly peel it off. If the varnish adheres well, only a minimal amount of varnish should be removed with the tape.
Contact Us for More Information
Adjusting the UV intensity in a UV varnish printer is a complex but crucial process that requires careful consideration of multiple factors. As a professional supplier of UV varnish printers and related products, we have the expertise and experience to help you optimize your printing process. Whether you need advice on adjusting the UV intensity, choosing the right printer, or any other printing - related issues, please feel free to contact us. We are committed to providing you with the best solutions and high - quality products to meet your printing needs.
References
- "UV Curing Technology: Principles and Applications" by John W. Taylor
- "Handbook of Print Production" edited by Helmut Kipphan