As a supplier of UV Varnish Printers, I'm excited to share with you the intricate details of the printing process of these remarkable machines. In this blog, we'll delve into the step-by-step journey of how a UV Varnish Printer operates, from the initial setup to the final output.
Pre - printing Preparation
Before the actual printing process begins, several crucial steps need to be completed. First and foremost, the printer must be properly calibrated. This involves adjusting the print head alignment, ensuring that the ink nozzles are in the correct position to deliver precise and accurate prints. The calibration process is essential for achieving high - quality results, as even a slight misalignment can lead to blurred or uneven prints.
Next, the appropriate UV varnish and ink cartridges need to be installed. The choice of UV varnish depends on the specific requirements of the print job, such as the desired finish (glossy, matte, etc.) and the type of substrate being used. Different substrates, like paper, cardboard, or plastic, may require different types of varnishes to ensure optimal adhesion and durability.
The substrate, which is the material to be printed on, also needs to be prepared. It should be clean, dry, and free from any dust or debris that could interfere with the printing process. If necessary, the substrate may need to be pre - treated to enhance the adhesion of the UV varnish and ink.
Design and File Preparation
Once the printer is set up and the substrate is ready, the design for the print job needs to be prepared. This can be done using graphic design software such as Adobe Photoshop or Illustrator. The design should be created in the correct resolution and color mode for the printer. For UV Varnish Printers, a high - resolution design (usually 300 dpi or higher) is recommended to ensure sharp and detailed prints.
The design file then needs to be converted into a format that the printer can understand. Common file formats for UV Varnish Printers include PDF, EPS, and TIFF. These formats preserve the integrity of the design and ensure that all the colors and details are accurately reproduced during the printing process.
Loading the Substrate
After the design file is prepared, the substrate is loaded into the printer. Most UV Varnish Printers have a feed system that can handle different sizes and thicknesses of substrates. The substrate is carefully placed into the feed tray, and the printer's sensors detect its presence and adjust the printing parameters accordingly.
Printing the Base Image
The first stage of the printing process is to print the base image using UV ink. The print head of the UV Varnish Printer moves across the substrate, ejecting tiny droplets of UV ink onto the surface. The ink is then cured almost instantly by UV light sources located near the print head. This UV curing process ensures that the ink dries quickly and adheres firmly to the substrate, preventing smudging and ensuring long - lasting prints.
The UV ink used in these printers is formulated to be highly resistant to fading, scratching, and other forms of damage. It also offers a wide color gamut, allowing for vibrant and accurate color reproduction.
Applying the UV Varnish
Once the base image is printed, it's time to apply the UV varnish. The UV varnish can be applied in two main ways: flood varnishing and spot varnishing.
Flood Varnishing: In flood varnishing, the entire surface of the printed image is coated with a layer of UV varnish. This provides a uniform finish and enhances the overall appearance of the print. It also adds a layer of protection to the printed image, making it more resistant to wear and tear.
Spot Varnishing: Spot varnishing, on the other hand, involves applying the UV varnish only to specific areas of the printed image. This technique can be used to create a contrast between the varnished and non - varnished areas, adding a tactile and visual element to the print. For more information on UV Spot Varnishing, you can visit our UV Spot Varnish Printing page.
Similar to the UV ink, the UV varnish is ejected from the print head and then cured immediately by UV light. The thickness of the varnish layer can be adjusted depending on the desired effect.
Quality Control
After the printing and varnishing process is complete, a quality control check is carried out. This involves inspecting the printed output for any defects, such as streaks, bubbles, or uneven coverage. If any issues are detected, the print job may need to be re - run or adjusted.
The quality control process also includes checking the color accuracy of the print. This can be done using color measurement tools to ensure that the printed colors match the original design.
Post - printing Finishing
Once the print has passed the quality control check, it may undergo some post - printing finishing processes. This can include cutting, folding, or laminating the printed material, depending on its intended use. For example, if the print is a brochure, it may be folded into the appropriate shape and then bound.
Advantages of UV Varnish Printing
UV Varnish Printing offers several advantages over traditional printing methods. Firstly, the UV curing process allows for fast drying times, which means that the printed materials can be handled and finished immediately after printing. This significantly reduces the production time and increases efficiency.
Secondly, UV varnish provides excellent protection for the printed image. It is resistant to scratches, abrasions, and fading, making the printed materials more durable and long - lasting.
Finally, UV Varnish Printing offers a high level of versatility. It can be used on a wide range of substrates, including paper, cardboard, plastic, and metal, and can create a variety of finishes, from glossy to matte.
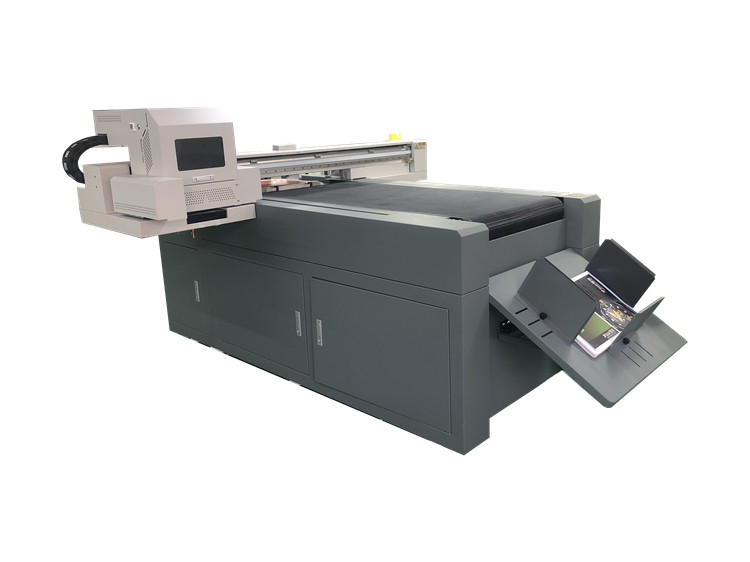
Our UV Varnish Printers
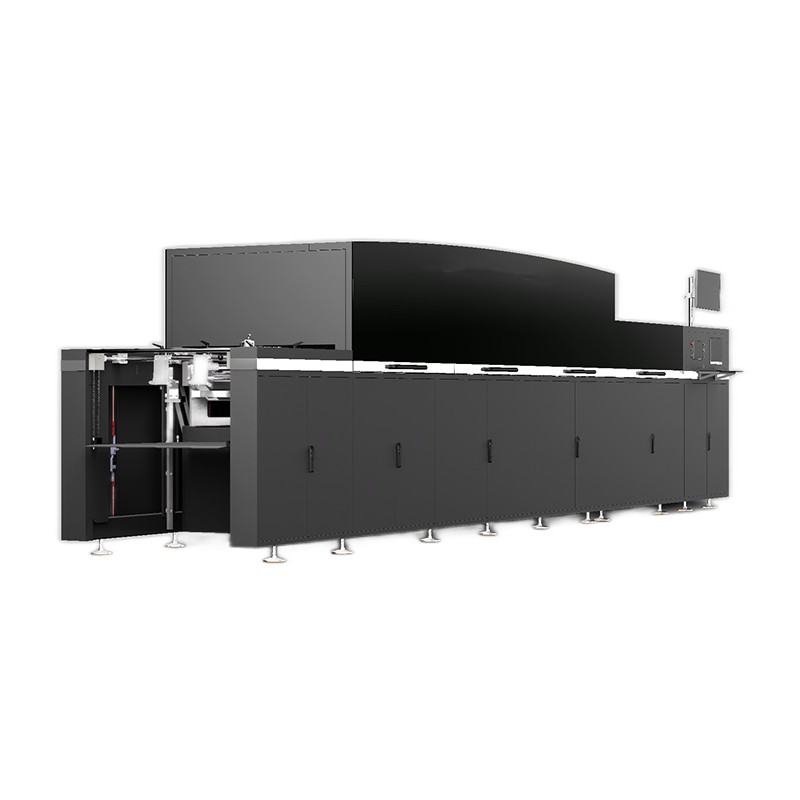
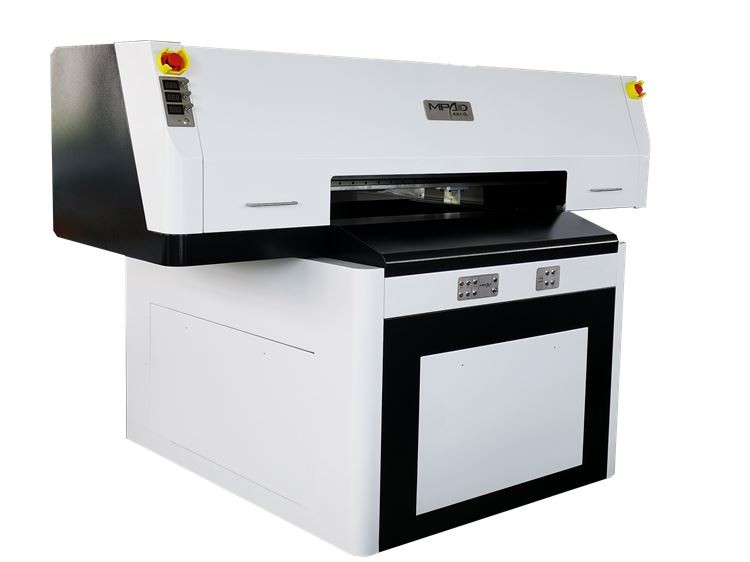
At our company, we offer a range of high - quality UV Varnish Printers that are designed to meet the diverse needs of our customers. Our printers are equipped with advanced technology and features, such as high - resolution print heads, precise ink and varnish control, and efficient UV curing systems.
We also offer UV Spot Printers for those who are interested in the spot varnishing technique. These printers allow for precise and detailed spot varnishing, enabling you to create unique and eye - catching prints.
Contact Us for Purchase and Negotiation
If you're interested in learning more about our UV Varnish Printers or are considering making a purchase, we encourage you to get in touch with us. Our team of experts is ready to assist you with any questions you may have and to guide you through the purchasing process. Whether you're a small business looking for a cost - effective printing solution or a large - scale printing company in need of high - volume production, we have the right printer for you.
References
- "Digital Printing Technology" by John Smith
- "UV Curing in Printing" by Emily Brown
- "Advances in Varnish Printing" by David Johnson