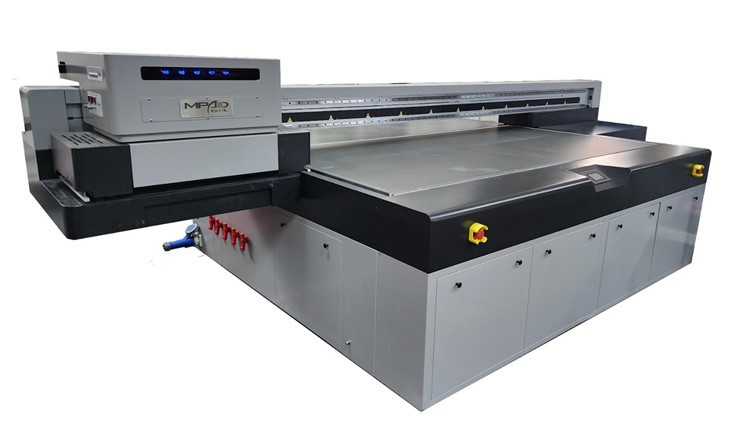
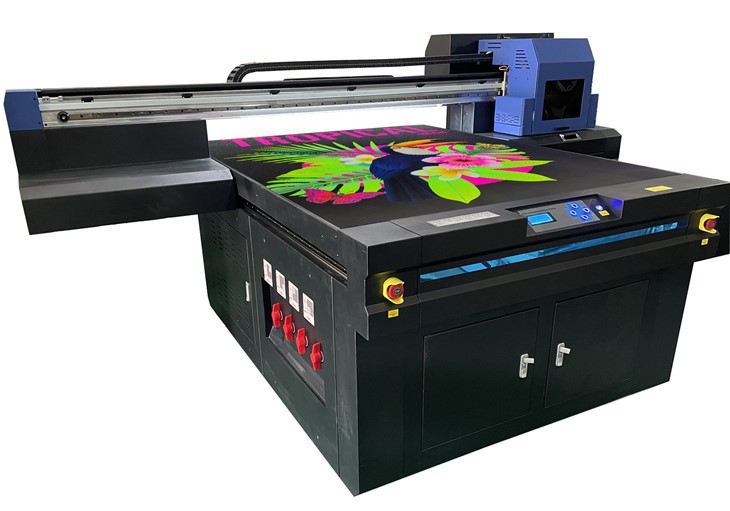
As a 2513 UV printer supplier, I understand the importance of proper calibration for achieving high - quality prints. Calibrating a 2513 UV printer is a multi - step process that involves several key aspects, from mechanical adjustments to color and printhead calibration. In this blog, I'll guide you through the entire calibration process to ensure your 2513 UV printer operates at its best.
Pre - calibration Preparations
Before you start the calibration process, it's essential to make some preparations. First, ensure that the printer is placed on a stable and level surface. Any unevenness can lead to inconsistent prints and mechanical issues over time. The environment where the printer is located should also be clean and free from dust, as dust particles can clog the printheads and affect the print quality.
Next, check the printer's power supply. A stable power source is crucial for the proper functioning of the printer's components. Make sure all the cables are securely connected, including the power cable, data cable, and ink supply lines.
Inspect the printheads. Over time, printheads can become clogged or damaged. If you notice any signs of clogging, such as missing dots or streaks in test prints, you may need to perform a printhead cleaning before calibration. You can use a specialized cleaning solution and follow the manufacturer's instructions for cleaning the printheads.
Mechanical Calibration
Mechanical calibration is the foundation of a well - functioning 2513 UV printer. It involves adjusting the printer's physical components to ensure accurate movement and positioning.
Belt Tension
The belts that drive the print carriage and the media feed system need to be properly tensioned. If the belts are too loose, the print carriage may move unevenly, resulting in misaligned prints. On the other hand, if the belts are too tight, it can put excessive stress on the motors and other components, leading to premature wear.
To check the belt tension, you can gently press on the belt. It should have a slight give but not be overly loose. If adjustment is needed, refer to the printer's manual for the specific procedure to adjust the belt tension.
Guide Rails
The guide rails along which the print carriage moves must be clean and lubricated. Over time, dirt and debris can accumulate on the guide rails, causing the print carriage to move jerkily. Use a clean, lint - free cloth to wipe the guide rails and apply a small amount of lubricant as recommended by the manufacturer.
Media Support
The media support platform should be level and flat. Any unevenness in the media support can cause the printed image to appear distorted. You can use a spirit level to check the levelness of the platform and make adjustments if necessary.
Color Calibration
Color calibration is crucial for achieving accurate and consistent colors in your prints. It involves adjusting the printer's color settings to match a standard color profile.
Color Management System
Most 2513 UV printers come with a built - in color management system. This system allows you to adjust the color output based on different color models, such as RGB or CMYK. You can use a color calibration tool, such as a spectrophotometer, to measure the color accuracy of test prints and make adjustments to the color management settings accordingly.
Ink Density
The density of the ink used in the printer can also affect the color output. If the ink density is too low, the colors may appear washed out. If it's too high, the colors may be overly saturated. You can adjust the ink density settings in the printer's software to achieve the desired color balance.
Color Profiles
Using the right color profile is essential for accurate color reproduction. You can create custom color profiles based on the type of media you are using and the specific requirements of your prints. Many printers allow you to import and export color profiles, which can be useful for maintaining consistency across different print jobs.
Printhead Calibration
Printhead calibration ensures that the printheads are firing ink droplets accurately and consistently.
Nozzle Check
Perform a nozzle check to identify any clogged or malfunctioning nozzles. Most printer software has a built - in nozzle check function. Print a nozzle check pattern and examine it carefully. If you notice any missing or weak nozzles, you may need to perform a nozzle cleaning or alignment.
Printhead Alignment
Proper printhead alignment is crucial for sharp and clear prints. Misaligned printheads can cause banding or blurry images. You can use the printer's alignment tool to adjust the position of the printheads. This usually involves printing a series of alignment patterns and following the on - screen instructions to make the necessary adjustments.
Testing and Verification
After completing all the calibration steps, it's important to test the printer to ensure that the calibration has been successful. Print a test image that includes a variety of colors, patterns, and text. Examine the print closely for any signs of misalignment, color inaccuracies, or other issues.
If you are satisfied with the test print, you can start your regular print jobs. However, if you still notice problems, you may need to go back and re - check the calibration steps to identify and correct any issues.
Conclusion
Calibrating a 2513 UV printer is a detailed and important process that requires patience and attention to detail. By following the steps outlined in this blog, you can ensure that your printer produces high - quality, consistent prints.
If you are in the market for a UV printer, we offer a range of options, including the Small Format UV Printer, UV Digital Printer, and UV Flatbed Printer For Wood. Our printers are designed to provide excellent performance and reliability.
If you have any questions about our products or need further assistance with printer calibration, we are here to help. Feel free to reach out to us to discuss your specific requirements and start a procurement conversation.
References
- Manufacturer's Manual for 2513 UV Printer
- Industry Standards for UV Printer Calibration
- Technical Documents on Color Management in Printing