Hey there! As a supplier of Spot UV Printers, I've seen firsthand how crucial it is to get that top - notch printing quality. Whether you're a small business owner looking to add a professional touch to your products or a large - scale manufacturer aiming for perfection, optimizing the printing quality of your Spot UV Printer is key. In this blog, I'll share some tips and tricks that I've gathered over the years to help you achieve the best results.
Understanding the Basics of Spot UV Printing
First things first, let's quickly go over what Spot UV Printing is. Spot UV Printing, also known as UV Spot Varnish Printing, is a technique that applies a clear, glossy UV - curable varnish to specific areas of a printed piece. This creates a high - contrast effect between the shiny, varnished areas and the matte background, adding visual interest and a premium look to your prints.
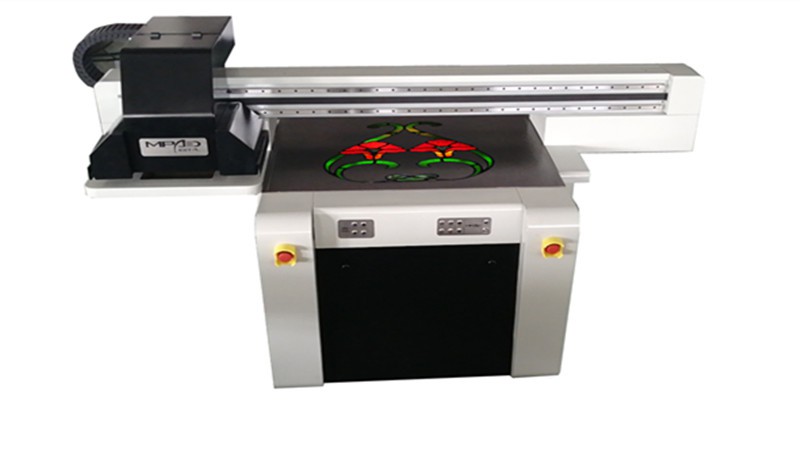
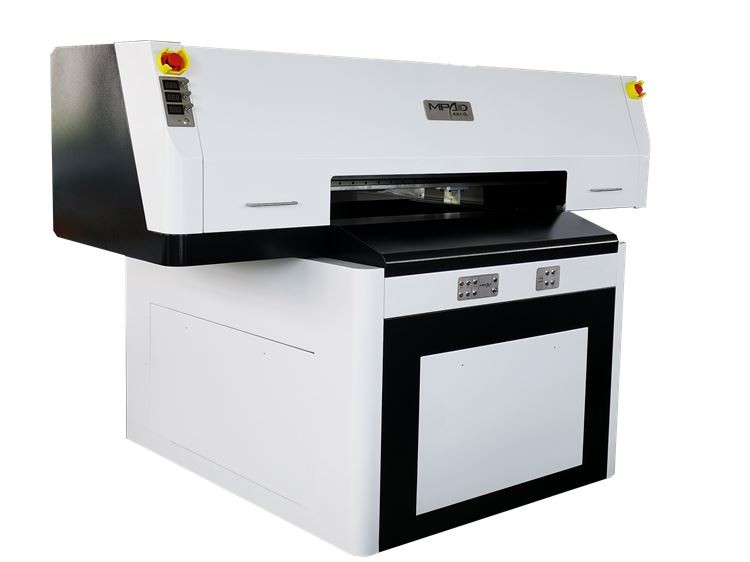
The Spot UV Coating Machine is the heart of this process. It precisely applies the UV varnish to the designated spots on the substrate, and then a UV light cures the varnish almost instantly. The UV Spot Printer is designed to work with different types of substrates, including paper, cardboard, plastic, and even some metals.
Choosing the Right Substrate
One of the most important factors in optimizing printing quality is choosing the right substrate. Different substrates absorb and interact with the UV varnish in different ways. For example, a smooth, high - quality paper will generally produce a more even and glossy finish compared to a rough or porous paper.
When selecting a substrate, consider the following:
- Surface Smoothness: A smooth surface allows the UV varnish to spread evenly, resulting in a more consistent finish. Look for papers with a smooth finish or treat rough substrates with a primer to improve the surface quality.
- Absorbency: Substrates that are too absorbent can soak up the UV varnish, causing it to lose its gloss and potentially leading to uneven drying. On the other hand, non - absorbent substrates may require special adhesion promoters to ensure the varnish adheres properly.
- Compatibility: Make sure the substrate is compatible with the UV varnish and the printer. Some substrates may react negatively with the varnish, causing discoloration or other issues.
Preparing the Printer
Before you start printing, it's essential to prepare your UV Spot Printer properly. Here are some steps you can take:
- Clean the Printer: Regularly clean the printer heads, nozzles, and other components to prevent clogs and ensure smooth ink flow. Use a recommended cleaning solution and follow the manufacturer's instructions carefully.
- Calibrate the Printer: Calibration is crucial for accurate printing. Make sure to calibrate the printer regularly, especially if you've changed the substrate or the printing settings. This will help ensure that the UV varnish is applied at the correct thickness and in the right places.
- Check the UV Lights: The UV lights are responsible for curing the varnish. Make sure they are working properly and replace them if they are old or not producing enough UV light. Weak UV lights can result in incomplete curing, which can lead to sticky or smudged prints.
Optimizing the Printing Settings
The printing settings play a significant role in the final quality of your prints. Here are some settings you can adjust to optimize the printing quality:
- Varnish Thickness: The thickness of the UV varnish can affect the gloss level and the overall appearance of the print. Experiment with different varnish thicknesses to find the one that works best for your project. Generally, a thicker layer of varnish will result in a higher gloss finish, but it may also take longer to cure.
- Printing Speed: Printing too fast can cause the varnish to be applied unevenly or not cure properly. On the other hand, printing too slowly can be time - consuming and may not be cost - effective. Find the right balance between speed and quality by testing different printing speeds.
- Resolution: The resolution of the print determines the level of detail and sharpness. Higher resolutions generally produce better - quality prints, but they also require more ink and may take longer to print. Choose a resolution that is appropriate for your project and the capabilities of your printer.
Handling and Curing the Prints
After the prints are done, proper handling and curing are essential to ensure the best results. Here are some tips:
- Allow Sufficient Curing Time: Even though UV varnish cures almost instantly under the UV lights, it's still a good idea to allow the prints to fully cure for a few hours or even overnight. This will help the varnish harden completely and prevent any smudging or damage.
- Handle with Care: The UV varnish can be sensitive to scratches and fingerprints, especially when it's still fresh. Use gloves when handling the prints and avoid touching the varnished areas as much as possible.
- Store the Prints Properly: Store the prints in a cool, dry place away from direct sunlight. This will help preserve the quality of the prints and prevent the varnish from yellowing or deteriorating over time.
Troubleshooting Common Issues
Even with the best preparation and settings, you may still encounter some issues with your Spot UV prints. Here are some common problems and how to fix them:
- Uneven Varnish Application: If the varnish is applied unevenly, it could be due to a clogged nozzle, incorrect printer settings, or a problem with the substrate. Check the printer heads and nozzles for clogs, adjust the printing settings, and make sure the substrate is clean and smooth.
- Poor Adhesion: If the varnish doesn't adhere properly to the substrate, it could be because the substrate is not compatible with the varnish or there is a problem with the adhesion promoter. Try using a different substrate or a stronger adhesion promoter.
- Bubbles or Pinholes: Bubbles or pinholes in the varnish can be caused by air trapped in the varnish or a problem with the printing process. Make sure the varnish is properly degassed before use and adjust the printing settings to reduce the amount of air being trapped.
Conclusion
Optimizing the printing quality of a Spot UV Printer takes a combination of the right substrate, proper printer preparation, optimized printing settings, and careful handling. By following the tips and tricks outlined in this blog, you can achieve high - quality, professional - looking prints that will make your products stand out.
If you're interested in learning more about our UV Spot Printer or other related products, or if you have any questions about Spot UV Printing, don't hesitate to reach out. We're here to help you take your printing to the next level.
References
- Manufacturer's manuals for Spot UV Printers and related equipment.
- Industry publications on UV printing technology.
- Personal experience and knowledge gained from working with Spot UV Printers over the years.