Hey there! As a supplier of Hybrid Printers, I know how crucial it is to optimize your printing settings for the best results. Whether you're a newbie or a seasoned pro, getting the most out of your hybrid printer can be a game - changer. So, let's dive right in and explore how you can optimize those printing settings.
Understanding Your Hybrid Printer
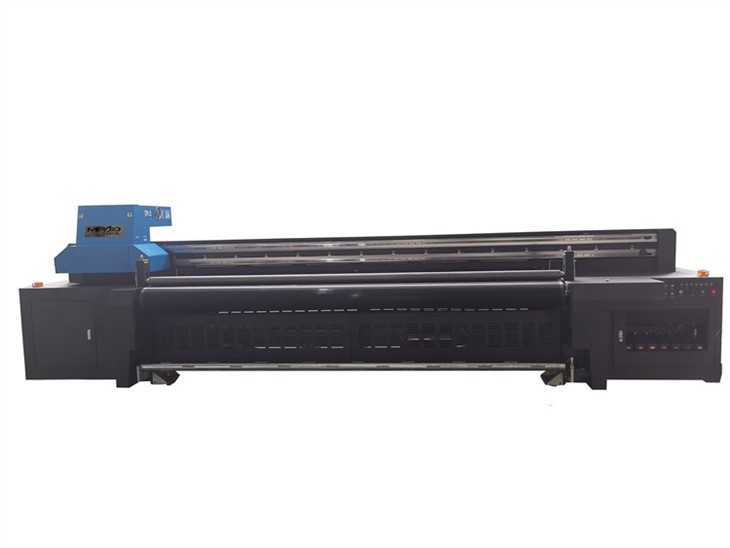
First things first, it's super important to understand what a hybrid printer is. A hybrid printer combines the best of both worlds, usually integrating flatbed and roll - to - roll printing capabilities. This allows you to print on a wide variety of materials, from rigid substrates like wood and metal to flexible materials such as vinyl and fabric.
Our Hybrid UV Printing technology is at the heart of our hybrid printers. It uses UV - curable inks that dry almost instantly when exposed to UV light. This not only speeds up the printing process but also ensures high - quality, durable prints.
Selecting the Right Media
The type of media you choose has a huge impact on your printing settings. Different materials absorb ink differently, so you need to adjust your settings accordingly. For instance, if you're printing on a porous material like paper, you might need to increase the ink density to get a vivid and clear print. On the other hand, non - porous materials like glass or plastic may require a lower ink density to prevent ink pooling.
When selecting media, always check its compatibility with your hybrid printer. Our Digital UV Printer is designed to work with a wide range of media, but it's still a good idea to do a test print first to make sure everything looks great.
Adjusting the Print Resolution
Print resolution is measured in dots per inch (DPI). The higher the DPI, the more detailed and sharp your print will be. However, a higher DPI also means a longer printing time and more ink consumption. So, you need to find the right balance based on your project requirements.
For large - format prints that will be viewed from a distance, such as banners or billboards, a lower DPI (around 300 - 600 DPI) might be sufficient. But for small - scale prints or those that require high - level detail, like product labels or fine art reproductions, you'll want to go for a higher DPI (1200 DPI or more).
Optimizing Ink Settings
Ink settings are another key aspect of optimizing your printing. You can adjust the ink flow, color saturation, and dot size to achieve the desired results.
- Ink Flow: If you're getting faded or patchy prints, you might need to increase the ink flow. But be careful not to overdo it, as too much ink can lead to smudging and longer drying times.
- Color Saturation: Adjusting the color saturation allows you to make your prints more vibrant or muted. For a bold and eye - catching look, increase the saturation. If you prefer a more subtle, natural look, decrease it.
- Dot Size: Changing the dot size can affect the smoothness and detail of your print. Smaller dots are better for fine details, while larger dots can be used for solid colors or areas where you want a more textured look.
Calibrating Your Printer
Regular calibration is essential for maintaining consistent print quality. Over time, your printer's components can wear out or become misaligned, which can lead to color inaccuracies and uneven prints.
Most modern hybrid printers, like our UV Flatbed Roll To Roll Printer, come with built - in calibration tools. You can use these tools to align the print heads, adjust the color profiles, and ensure that your printer is performing at its best.
Testing and Tweaking
Don't be afraid to do some testing and tweaking. Print a small test piece first and examine it closely. Look for any issues like color bleeding, banding, or uneven ink distribution. Based on your observations, make the necessary adjustments to your settings.
It might take a few tries to get everything just right, but the effort is definitely worth it. Once you've optimized your settings for a particular media and project, you can save those settings for future use.
Maintaining Your Printer
Proper maintenance is also crucial for optimizing your printing settings. Keep your printer clean, both inside and out, to prevent dust and debris from affecting the print quality. Replace the ink cartridges regularly and follow the manufacturer's recommended maintenance schedule.
Troubleshooting Common Issues
Even with the best settings, you might still encounter some common printing issues. Here are a few solutions to some of the most frequent problems:
- Clogged Print Heads: If you're getting streaks or missing lines in your prints, it could be a sign of clogged print heads. You can usually clean the print heads using the printer's built - in cleaning function. If that doesn't work, you may need to soak the print heads in a cleaning solution.
- Color Mismatch: If the colors in your print don't match what you see on your screen, it could be due to a color profile issue. Make sure your printer and computer are using the same color profile. You can also calibrate your monitor to ensure accurate color representation.
Conclusion
Optimizing the printing settings on a hybrid printer takes a bit of time and experimentation, but it's well worth the effort. By understanding your printer, selecting the right media, adjusting the resolution and ink settings, calibrating regularly, and maintaining your printer, you can achieve high - quality, professional - looking prints every time.
If you're interested in learning more about our Hybrid Printers or have any questions about optimizing your printing settings, we'd love to hear from you. Contact us to start a conversation about your printing needs and how our products can help you achieve your goals.
References
- Manufacturer's Manuals for Hybrid Printers
- Industry Publications on Digital Printing Technologies
- Online Forums and Communities for Printing Enthusiasts