Hey there! As a supplier of UV label printers, I often get asked, "How long does it take to set up a UV label printer?" Well, the answer isn't as straightforward as you might think. It depends on a bunch of factors, and I'm gonna break it all down for you in this blog.
Initial Considerations
Before we even start talking about the actual setup time, there are some things you need to take care of first. The first is the location where you plan to install the printer. You need to make sure the area is well-ventilated because UV printers use inks that can emit fumes during the printing process. Also, the floor should be level to ensure the printer operates smoothly. If you need to make any adjustments to the location, like installing ventilation systems or leveling the floor, that's gonna add some time to the whole process.
Another thing is the power supply. UV label printers usually require a stable and appropriate power source. You might need an electrician to check and, if necessary, upgrade your electrical system to handle the printer's power requirements. This pre - setup work could take anywhere from a few hours to a couple of days, depending on the complexity of your existing electrical setup.
Unpacking and Inspection
Once you've got the location sorted, the next step is unpacking the printer. When the UV label printer arrives at your facility, it comes in a big crate. Unpacking it carefully is crucial to avoid any damage to the printer components. You'll need to follow the manufacturer's instructions for unpacking, which usually involve removing the packing materials, brackets, and protective covers.
After unpacking, you should conduct a thorough inspection. Check for any visible damage during transit, such as dents, scratches, or loose parts. Make sure all the included accessories, like ink cartridges, cables, and software CDs, are present. This inspection process typically takes about half a day to a full day, depending on the size and complexity of the printer.
Installation
Now, let's talk about the actual installation. If you've got a basic UV label printer, the installation process can be relatively quick. For smaller, desktop - sized models, you might be able to set it up in a few hours. You just need to place it on a stable surface, connect the power cable, and hook up the necessary data cables to your computer.
However, for larger, industrial - grade UV label printers, the installation is more involved. These printers often need to be assembled on - site. You'll have to install the print heads, the conveyor system (if it's a roll - to - roll printer), and the ink circulation system. Professional technicians usually handle this part, and it can take anywhere from 1 to 3 days. They need to ensure that all the components are properly aligned and calibrated for optimal printing performance.
Software Setup
Once the physical installation is done, it's time to set up the software. You'll need to install the printer driver on your computer. This usually involves inserting the software CD or downloading the driver from the manufacturer's website. The installation process is usually straightforward, but you might need to configure some settings, such as the printer resolution, color management, and paper size.
After the driver is installed, you'll also need to set up the printing software. This software allows you to design and print labels. It might take a day or two to get familiar with the software, especially if you're new to label printing. You'll need to learn how to create label templates, import images, and adjust the printing parameters.
Calibration and Testing
Calibration is a critical step in setting up a UV label printer. You need to calibrate the print heads to ensure accurate color reproduction and sharp image quality. This involves printing test patterns and adjusting the printer settings based on the results. The calibration process can take a few hours to a full day, depending on the printer's complexity and the level of precision required.
Once the calibration is complete, you'll conduct a series of test prints. You'll print different types of labels, using various materials and ink combinations. This helps you identify any potential issues, such as ink smudging, color inaccuracies, or paper feeding problems. Testing can take another day or two to ensure that the printer is producing high - quality labels consistently.
Training
If you're new to using a UV label printer, training is essential. As a supplier, we usually offer training sessions for our customers. These sessions can be conducted on - site or remotely, depending on your preference. The training typically lasts for 1 to 2 days and covers topics like printer operation, maintenance, troubleshooting, and software usage.
Overall Time Estimate
So, to sum it all up, the time it takes to set up a UV label printer can range from about a week for a small, desktop model to 2 - 3 weeks for a large, industrial - grade printer. This includes all the pre - setup work, unpacking, installation, software setup, calibration, testing, and training.
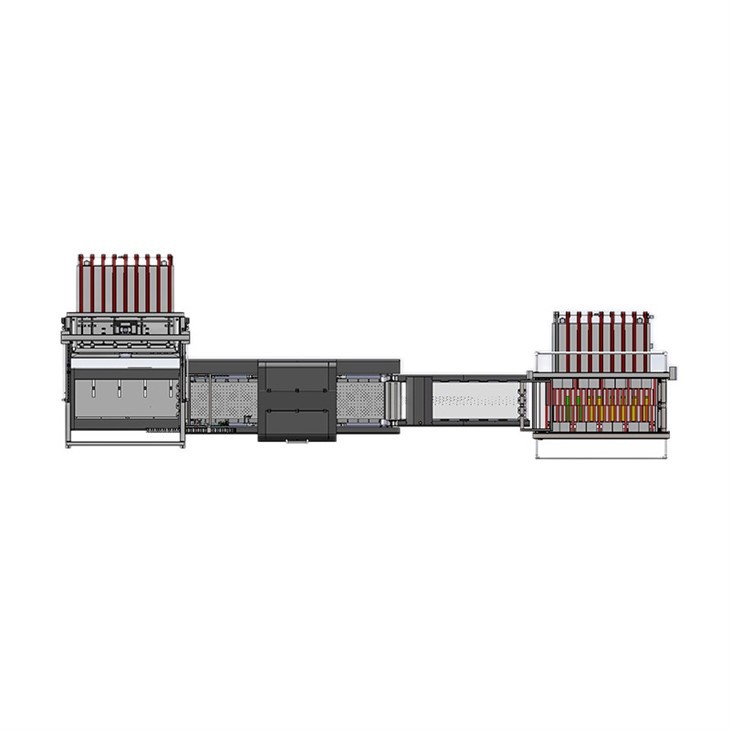
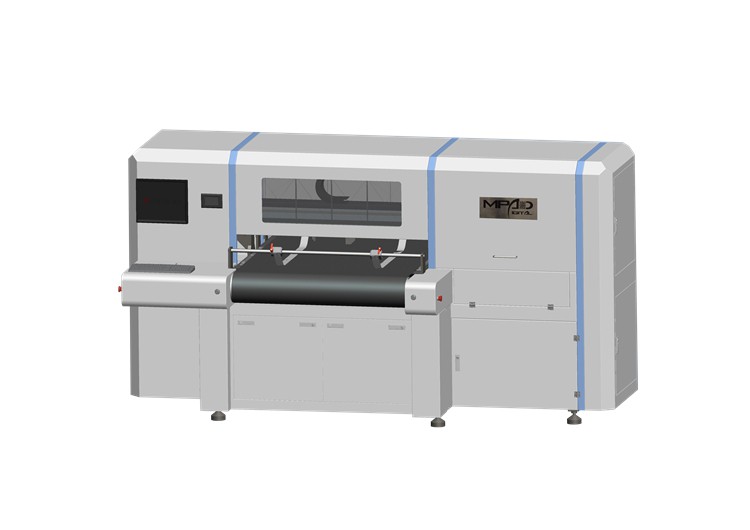
If you're in the market for a UV label printer and want to learn more about our products, we also offer other related equipment, such as Carton Printing Machine and One Pass UV Printer. Our Carton Printing Machine is a great option if you're looking to expand your printing capabilities.
If you're interested in purchasing a UV label printer or any of our other products, don't hesitate to reach out. We're here to answer all your questions and help you find the best solution for your business. Contact us to start a procurement discussion, and let's take your label printing to the next level!
References
- Manufacturer's installation guides for UV label printers
- Industry best practices for label printing setup and operation