Calibrating a Hybrid UV Printer is a crucial process that ensures optimal performance, high - quality prints, and efficient operation. As a Hybrid UV Printer supplier, I understand the significance of proper calibration and am here to guide you through the process.
Understanding the Basics of Hybrid UV Printers
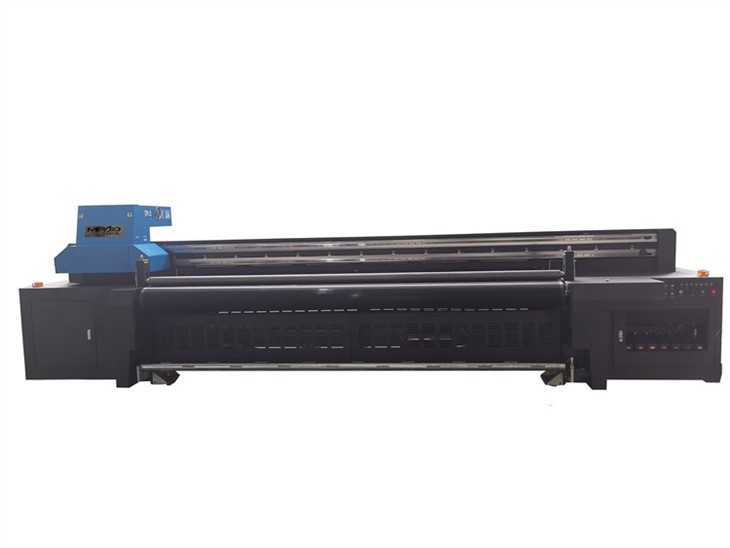
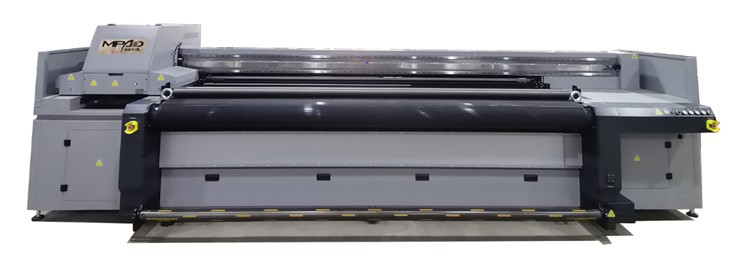
Before delving into the calibration process, it's essential to understand what a Hybrid UV Printer is. A Hybrid UV Printer combines the features of both flatbed and roll - to - roll printing capabilities. This versatility allows it to print on a wide range of materials, including rigid substrates like wood, glass, and metal, as well as flexible media such as vinyl and fabric.
These printers use UV - curable inks, which are cured instantly by ultraviolet light. This curing process not only ensures fast drying times but also results in vibrant, durable prints. For more information on the different types of Hybrid UV Printers, you can visit our Digital UV Printer and Hybrid Flatbed Printers pages.
Pre - calibration Checks
Before starting the calibration process, several pre - calibration checks are necessary to ensure the printer is in good working condition.
1. Physical Inspection
- Clean the Printer: Remove any dust, debris, or ink residues from the printer's interior and exterior. Pay special attention to the print heads, conveyor belts, and UV lamps.
- Check for Damage: Inspect the printer for any signs of physical damage, such as broken parts, loose cables, or leaks. Replace any damaged components before proceeding with calibration.
- Verify Media Compatibility: Ensure that the media you plan to use is compatible with the printer and the UV - curable inks. Different materials may require different settings and ink formulations.
2. Software and Firmware Updates
- Update the Printer Software: Check for the latest software updates for your Hybrid UV Printer. These updates often include bug fixes, performance improvements, and new features that can enhance the calibration process.
- Update the Firmware: Similarly, update the printer's firmware to the latest version. Firmware updates can optimize the printer's hardware performance and ensure compatibility with the software.
Calibration Steps
1. Print Head Alignment
Print head alignment is one of the most critical steps in calibrating a Hybrid UV Printer. Misaligned print heads can result in banding, color misregistration, and poor print quality.
- Access the Alignment Menu: Navigate to the print head alignment menu in the printer's software. This menu is usually located in the maintenance or calibration section.
- Print Alignment Patterns: The printer will print a series of alignment patterns on a test sheet. These patterns typically consist of lines and dots that are used to determine the correct alignment of the print heads.
- Adjust the Print Heads: Based on the alignment patterns, use the software to adjust the position of the print heads horizontally and vertically. Make small adjustments and re - print the alignment patterns until the lines and dots are perfectly aligned.
2. Ink Density and Color Calibration
Ink density and color calibration ensure that the printer produces accurate and consistent colors.
- Create a Color Profile: Use a color calibration tool or software to create a custom color profile for your printer. This profile will map the colors produced by the printer to the standard color space, such as sRGB or Adobe RGB.
- Print Color Charts: Print a color chart on the media you plan to use. The color chart contains a range of colors that can be used to evaluate the printer's color accuracy.
- Adjust Ink Density: Compare the printed color chart to the reference color chart. If the colors are too light or too dark, adjust the ink density settings in the printer's software. Make small adjustments and re - print the color chart until the colors match the reference.
- Fine - tune the Colors: Use the color management tools in the software to fine - tune the individual color channels (cyan, magenta, yellow, and black). This will ensure that the printer produces accurate and vibrant colors.
3. Media Height Calibration
Media height calibration is necessary to ensure that the print heads are at the correct distance from the media surface. Incorrect media height can result in poor print quality, clogged print heads, and damage to the printer.
- Measure the Media Thickness: Use a caliper or a thickness gauge to measure the thickness of the media you plan to use.
- Set the Media Height: Enter the measured media thickness into the printer's software. The printer will automatically adjust the height of the print heads accordingly.
- Perform a Test Print: Print a test pattern on the media to verify that the print quality is good. If the print quality is poor, re - check the media height settings and make any necessary adjustments.
4. UV Lamp Calibration
UV lamp calibration ensures that the UV lamps are emitting the correct amount of ultraviolet light to cure the inks properly.
- Check the UV Lamp Intensity: Use a UV light meter to measure the intensity of the UV lamps. The intensity should be within the manufacturer's recommended range.
- Adjust the UV Lamp Power: If the UV lamp intensity is too low or too high, adjust the power settings of the UV lamps in the printer's software. Make small adjustments and re - measure the UV lamp intensity until it is within the correct range.
- Monitor the UV Lamp Life: Keep track of the UV lamp life and replace the lamps when they reach the end of their lifespan. Old or worn - out UV lamps can result in incomplete ink curing and poor print quality.
Post - calibration Verification
After completing the calibration process, it's important to perform a post - calibration verification to ensure that the printer is functioning correctly.
- Print a Test Job: Print a sample job on the media you plan to use. This job should include a variety of colors, graphics, and text to evaluate the overall print quality.
- Inspect the Print Quality: Check the printed job for any signs of banding, color misregistration, or poor ink adhesion. If you notice any issues, repeat the calibration steps as necessary.
- Test Different Media: Print on different types of media to ensure that the printer performs well on a variety of substrates. Adjust the calibration settings if necessary.
Troubleshooting Common Calibration Issues
Even after following the calibration steps carefully, you may encounter some common calibration issues. Here are some troubleshooting tips:
- Banding: Banding can be caused by misaligned print heads, clogged nozzles, or incorrect ink density settings. Check the print head alignment, clean the print heads, and adjust the ink density settings.
- Color Misregistration: Color misregistration can occur if the print heads are not properly aligned or if the media is not feeding correctly. Re - align the print heads and check the media feeding system.
- Poor Ink Adhesion: Poor ink adhesion can be due to incorrect UV lamp intensity, dirty media, or incompatible inks. Check the UV lamp calibration, clean the media, and ensure that the inks are compatible with the media.
Conclusion
Calibrating a Hybrid UV Printer is a complex but essential process that ensures high - quality prints and efficient operation. By following the pre - calibration checks, calibration steps, and post - calibration verification, you can ensure that your printer is performing at its best.
If you have any questions or need further assistance with calibrating your Hybrid UV Printer, please feel free to contact us. Our team of experts is always ready to help you optimize your printer's performance. You can also explore our UV Hybrid Printer Flatbed page for more information on our products. Whether you are a small business owner or a large - scale printing company, we are committed to providing you with the best solutions for your printing needs. Contact us today to discuss your requirements and explore how our Hybrid UV Printers can enhance your printing capabilities.
References
- Manufacturer's Manual for Hybrid UV Printers
- Color Calibration Guide by X - Rite
- Print Head Alignment Best Practices by Epson